Unlock unparalleled productivity & immersive experiences with these high-impact methods!

Why You Need a Dual-Screen Powerhouse
You feel cramped juggling multiple windows on a single screen.
You lose precious seconds switching between tabs, apps, and documents.
You crave more visual real estate—for work, content creation, gaming, or streaming.
A dual-screen setup solves these pain points by giving you:
- Seamless multitasking—See your email, browser, and spreadsheet side by side.
- Boosted efficiency—Cut context-switching time in half.
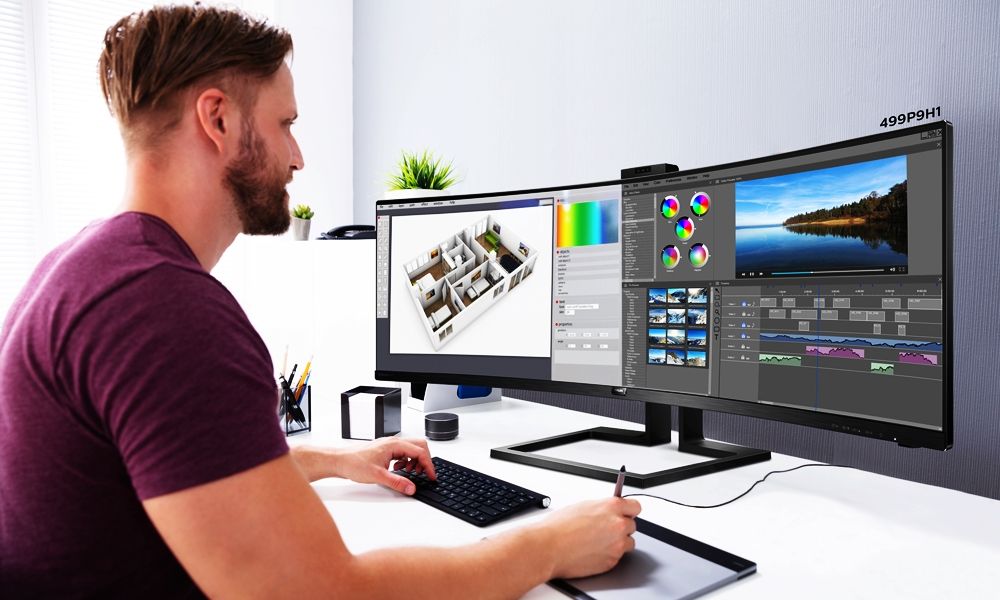
- Immersive experiences—Expand your gaming or video-editing canvas.
Ready to amplify your workflow? Let’s explore jaw-dropping methods to transform any monitor into a second display.
H2: Dual Monitor Setup Simplified
Master the built-in Windows methods to extend your desktop in minutes.
- Step 1: Connect the cables.
Plug your extra monitor into the HDMI, DisplayPort, DVI, or VGA port on your PC or laptop. - Step 2: Open Display Settings.
Right-click your desktop and select Display settings. - Step 3: Detect & arrange.
Scroll to Multiple displays, click Detect, then drag the boxes to match your physical layout. - Step 4: Choose “Extend.”
Under Multiple displays, pick Extend these displays to span your desktop (Microsoft Support).
You’re now running a dual-monitor setup without extra hardware.
H2: USB-to-HDMI Adapter Solutions
Give any USB port video-output superpowers.
- Plug-and-play convenience—No extra graphics card needed.
- Wide compatibility—Works on PCs, Macs, even older laptops.
- Affordable price range—From $25 to $60.
| Adapter Type | Price | Performance | Use Case |
|---|---|---|---|
| USB 3.0 → HDMI | $25–$35 | Up to 1080p @ 60 Hz | Office multitasking, general browsing |
| USB-C → DisplayPort | $30–$50 | Up to 4K @ 60 Hz | Photo/video editing, design work |
| Thunderbolt 3 → HDMI | $50–$70 | Up to 4K @ 120 Hz | High-refresh gaming, professional workflows |
Tip: Always use USB 3.0 or higher for smooth video performance.
H2: Wireless Display Dongles
Cut the cord—cast your desktop over Wi-Fi.
- No cables cluttering your desk.
- Portability—Move the dongle between rooms or devices.
- Multi-OS support—Windows (Miracast), macOS (AirPlay), Android casting.
- Plug a Miracast or Chromecast dongle into your monitor’s HDMI port.
- Connect your PC to the same Wi-Fi network.
- Project your screen via Settings > System > Display > Connect to a wireless display (Microsoft Support).
Expect a slight latency—best for productivity and videos, less ideal for high-speed gaming.
H2: KVM Switch Magic
One keyboard & mouse control multiple PCs—and screens.
- Hardware solution—No software installation required.
- Instant switching—Flick a button to swap computers.
- Peripheral sharing—Save space with a single set of peripherals.
| Feature | Benefit |
|---|---|
| Push-button switching | Seamless PC swaps |
| USB-powered | No extra power adapter needed |
| Multi-monitor versions | Control 2–4 PCs on dual screens |
How It Works: A KVM switch routes your keyboard, video, and mouse signals between computers. It “fakes” monitor EDID information to prevent resolution issues (Wikipedia).
H2: Tablet & Smartphone as Second Screen
Max out every device you own.
- Duet Display & Luna Display (iPad/Android → PC)
- Spacedesk (Windows → Windows/Android)
- Splashtop Wired XDisplay (USB-wired, low latency)
Setup in 3 steps:
- Install the app on both devices.
- Connect via USB or Wi-Fi.
- Configure in your desktop’s display settings.
Pro Tip: Wired connections via USB yield near-zero lag—perfect for editors and designers.
H2: Hardware Splitters & Picture-by-Picture Modes
Use a single video output for multi-view magic.
- HDMI splitters (clones your signal on two screens).
- PiP/PbP modes on modern graphics cards—display two inputs on one monitor simultaneously.
| Method | Clone vs Extend | Ideal For |
|---|---|---|
| HDMI Splitter | Clone only | Presentations, kiosks |
| GPU PiP/PbP | Extend | Trading desks, control rooms |
Note: Splitters don’t extend—they duplicate. For true extension, rely on PiP/PbP if your monitor supports it.
H2: Raspberry Pi as Display Hub
DIY meets practicality.
- Low-cost control board—Turn any LCD panel into HDMI-ready.
- Headless setup—Use VNC or RDP to stream a PC desktop.
- Creative projects—Smart home dashboards, arcade cabinets.
Example: Fit a Raspberry Pi behind an old panel; run screenly-ose to display your desktop or IoT dashboards (Super User).
H2: Software-Only Solutions for Virtual Monitors
No extra hardware—just smart apps.
- Microsoft’s Virtual Desktop—Multiple desktops on one screen.
- Actual Multiple Monitors—Window snapping, taskbar on each virtual display.
- VirtuaWin—Lightweight virtual desktop manager.
Difference: These create virtual screens—you switch contexts, not physical displays. Useful when you lack a second monitor.
H2: Comparison Table of All Methods
| Method | Cost Range | Setup Complexity | Best For |
|---|---|---|---|
| Native OS Extend | Free | Easy | Standard dual-monitor use |
| USB-to-HDMI Adapter | $25–$70 | Moderate | Any USB-equipped device |
| Wireless Display Dongle | $30–$60 | Moderate | Cable-free, portable setups |
| KVM Switch | $40–$200 | Easy | Multi-PC control |
| Tablet/Phone as Monitor | $10–$80 app | Easy | On-the-go second screen |
| HDMI Splitter | $15–$40 | Easy | Cloning displays |
| GPU PiP/PbP | $0 (GPU feature) | Easy | Multi-input display |
| Raspberry Pi Display Hub | $35–$100 | Advanced | DIY & smart dashboards |
| Virtual Desktops (Software) | Free–$25 | Easy | No hardware available |
Jaw-Dropping Tips & Tricks
- Match resolutions. Keep both screens at the same DPI to avoid awkward cursor jumps.
- Use a monitor arm. Free up desk space and achieve perfect alignment.
- Calibrate colors. Use built-in tools or DisplayCal for uniformity.
- Keyboard shortcuts. Memorize Win + P (Windows) or Mission Control (Mac) to toggle modes.
- Power settings. Prevent your laptop from sleeping when the lid closes.
Frequently Asked Questions
Q: Will a USB-to-HDMI adapter impact performance?
A: Modern USB 3.0 adapters handle 1080p @ 60 Hz smoothly. For 4K or high-refresh gaming, consider USB-C or Thunderbolt 3 options.
Q: Can I use any monitor arm for dual-screen setups?
A: Check for VESA compatibility (75×75 mm or 100×100 mm). Heavy ultrawide monitors may need reinforced arms.
Q: What’s the best wireless display for minimal lag?
A: Miracast Certified dongles and Chromecast Ultra offer the lowest latency on Wi-Fi 5/6 networks.
Q: Do I need special software for PiP/PbP?
A: No. If your graphics card and monitor support PiP/PbP, configure it via your GPU’s control panel (NVIDIA Control Panel or AMD Radeon Settings).
Conclusion
You don’t need an ultra-expensive setup to enjoy dual-screen productivity. Whether you choose a simple cable swap, a slick USB-powered adapter, or a full-blown KVM switch, each method unlocks a new tier of efficiency and immersion.
Pick the solution that fits your budget, device lineup, and performance needs—and watch your productivity soar!
Empower your workspace today with these jaw-dropping dual-screen methods—and never look back.