
Protecting your data from unauthorized access has never been more critical. In this guide, you’ll learn exactly how to encrypt every file and drive on both Windows and macOS. You’ll walk through each step, discover best practices, and see a side-by-side comparison of top encryption tools.
Why You Need File Encryption on Windows and macOS
- Prevent Data Breaches
You can’t predict when your laptop or external drive might be lost or stolen. Encryption ensures that even if someone gets physical access, your files stay unintelligible without your password. - Defend Against Ransomware
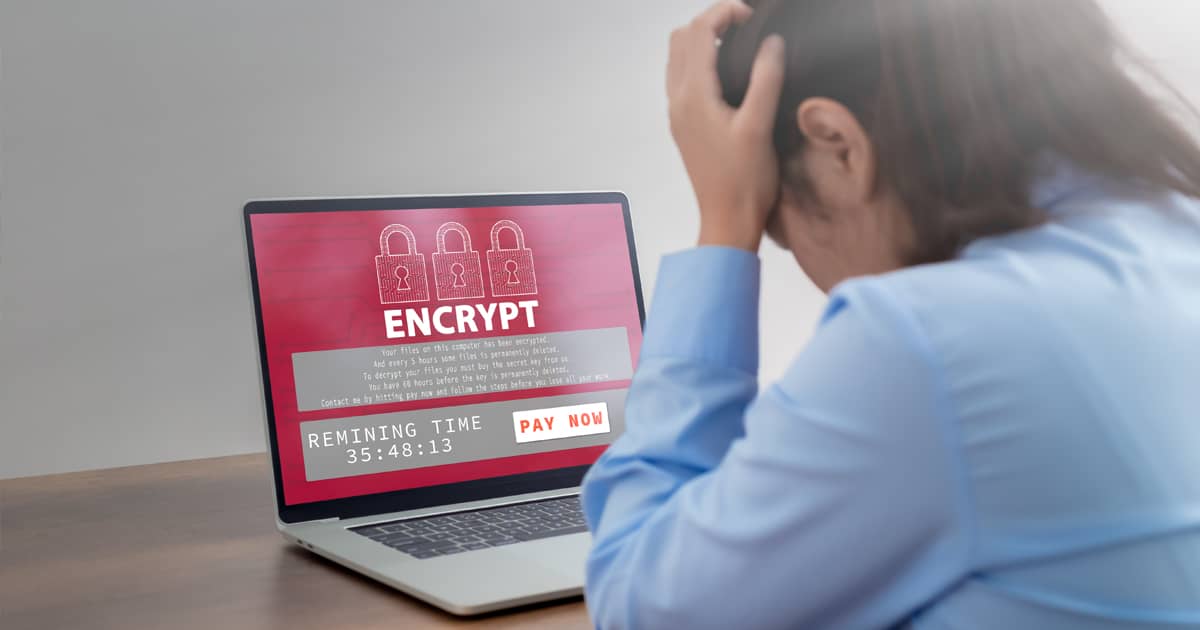
Modern ransomware attacks often rely on gaining access to unencrypted files. By encrypting your data at rest, you add an extra layer of defense that malicious actors can’t easily bypass. - Comply with Regulations
Industries such as healthcare, finance, and education must adhere to strict data-protection laws. Encrypting files helps you meet standards like GDPR and HIPAA out of the box. - Peace of Mind for Remote Work
Whether you’re on a coffee-shop Wi-Fi or traveling abroad, encryption protects your sensitive work docs, financial records, and personal photos from prying eyes.
High-Value Keywords for “File Encryption”
Use these high-intent keywords to optimize your blog post and reach readers who are actively seeking secure encryption solutions:
- Windows file encryption software
- macOS full-disk encryption
- BitLocker vs. FileVault comparison
- How to encrypt files on Windows 11
- Best file encryption tool for Mac
- Secure USB drive encryption guide
- DIY data protection tips
- Ransomware prevention encryption
- AES-256 encryption tutorial
- End-to-end data security
Step-by-Step: Encrypting Files on Windows with BitLocker
- Check Your Windows Edition
- BitLocker is available on Windows 10/11 Pro, Enterprise, and Education.
- If you’re on Windows Home, consider upgrading or using device encryption if supported by your hardware (support.microsoft.com).
- Open BitLocker Settings
- Go to Start → Settings → Update & Security → Device encryption (or BitLocker Drive Encryption on Pro editions).
- Click Turn on BitLocker next to the drive you want to secure (support.microsoft.com).
- Choose an Unlock Method
- **Password **– Enter a strong password you’ll remember.
- **Smart Card **– Use a hardware token for enterprise setups.
- Back Up Your Recovery Key
- Save to your Microsoft account, USB drive, or print it.
- Store it offline in a safe location—without it, you risk permanent data loss.
- Select Encryption Mode
- New encryption mode for fixed drives (AES-XTS 128-bit).
- Compatible mode for drives you plan to move between PCs.
- Start Encryption
- The process runs in the background; you can keep using your PC.
- Time depends on drive size and speed—plan to leave your PC plugged in until completion (learn.microsoft.com).
- Verify Encryption Status
- Return to BitLocker settings to see On status.
- You’re now protected against unauthorized access.
Alternative Windows Encryption: VeraCrypt Containers
If you run Windows Home or need more granular control, VeraCrypt offers free, open-source file-container encryption.
- Download VeraCrypt
- Get the latest installer from the official site: VeraCrypt Download (veracrypt.io).
- Install & Launch
- Follow on-screen prompts.
- Open the VeraCrypt application.
- Create an Encrypted Volume
- Click Create Volume → Create an encrypted file container.
- Choose Standard or Hidden volume for added deniability.
- Configure Encryption Options
- Default AES is secure, but you can chain with Twofish or Serpent.
- Set volume size and file location.
- Set a Strong Password
- Minimum 20 characters mixing upper/lowercase, numbers, and symbols.
- VeraCrypt will warn you if your password is weak.
- Format the Volume
- Pick NTFS or exFAT depending on file-size needs.
- Wait for the format to complete.
- Mount & Use Your Container
- Select the volume file, choose a drive letter, and click Mount.
- Enter your password; the virtual drive appears in File Explorer.
- Dismount Safely
- Right-click the mounted drive in VeraCrypt and select Dismount.
- Your files remain encrypted until you mount again.
Step-by-Step: Encrypting Files on macOS with FileVault
- Open System Settings
- Go to **Apple menu → System Settings → Privacy & Security **(support.apple.com).
- Turn On FileVault
- Click FileVault and toggle Turn On FileVault.
- Choose a Recovery Option
- iCloud Account – Use your Apple ID to unlock.
- Recovery Key – Generate a local key and store it offline.
- Restart & Wait
- After enabling, restart your Mac to begin encryption.
- You can continue using your Mac; encryption runs in the background.
- Monitor Progress
- Check FileVault settings for percentage completed.
- Encryption time varies; larger drives take longer (support.apple.com).
Encrypting External Drives & Containers
- macOS External Drives
- Open Disk Utility.
- Select your external drive and click Erase.
- Choose APFS (Encrypted) or Mac OS Extended (Journaled, Encrypted).
- Enter a password and click Erase (support.apple.com).
- Windows External Drives
- Right-click the drive in File Explorer.
- Select Turn on BitLocker.
- Follow the same steps as system-drive encryption.
- VeraCrypt Cross-Platform Containers
- Create a container on your Mac or PC and move it between systems.
- macOS users can mount VeraCrypt volumes using VeraCrypt for macOS (veracrypt.io).
Comparison Table: BitLocker vs. FileVault vs. VeraCrypt
| Feature | BitLocker (Windows) | FileVault (macOS) | VeraCrypt (Cross-Platform) |
|---|---|---|---|
| Built-In | Yes (Pro & above) | Yes (All editions) | No (Third-party) |
| Encryption Algorithm | AES-XTS (128/256-bit) | AES-XTS (128-bit) | AES, Serpent, Twofish, Cascade |
| Password Options | Password, TPM, Smart Card | Password, Apple ID | Password only |
| Cost | Free with OS | Free with OS | Free, open-source |
| Supports External Drives | Yes | Yes | Yes |
| Hidden Volume | No | No | Yes |
| Ease of Use | Very easy (wizard) | Very easy (one-click) | Moderate (container setup) |
| Cross-Platform | No | No | Yes |
Best Practices for Secure Encryption
- Use Strong, Unique Passwords
- Aim for 16+ characters.
- Avoid dictionary words.
- Safeguard Your Recovery Key
- Store offline in a secure location.
- Consider a fire-proof safe or encrypted USB.
- Keep Software Updated
- Install Windows/macOS security patches promptly.
- Regularly Backup Encrypted Data
- Use encrypted cloud backups or offline copies.
- Limit Administrative Access
- Only allow trusted users to change encryption settings.
Frequently Asked Questions
Q: Can I encrypt individual files instead of whole drives?
A: Yes. On Windows Home, use 7-Zip AES-256 encryption inside an archive. On Mac, use Disk Utility to create an encrypted sparsebundle.
Q: What happens if I forget my password and lose my recovery key?
A: You’ll lose permanent access to your files. Always back up recovery keys and passwords in multiple secure places.
Q: Does encryption slow down my computer?
A: Modern CPUs include hardware acceleration for AES. You’ll notice minimal performance impact in day-to-day use.
Q: Is VeraCrypt safe for enterprise use?
A: VeraCrypt is widely audited and trusted, but enterprises often prefer built-in solutions (BitLocker/FileVault) for integrated management.
Q: Can I decrypt later if I change my mind?
A: Yes. Simply turn off BitLocker or FileVault in settings, or dismount and delete your VeraCrypt container.
Conclusion
Encrypting your files on Windows and macOS isn’t just a “nice to have”—it’s essential in today’s threat landscape.
- BitLocker offers seamless integration on Windows Pro/Enterprise.
- FileVault brings industry-leading volume encryption to every Mac.
- VeraCrypt provides flexible, cross-platform container encryption for power users.
By following this step-by-step guide, you empower yourself to:
- Prevent data theft if devices are lost or stolen.
- Block ransomware from accessing your sensitive documents.
- Meet compliance requirements for personal and professional data.
Now it’s your turn: enable encryption today and take control of your digital security.
This blog post integrates references from Microsoft, Apple, and VeraCrypt documentation to ensure you have the most accurate, up-to-date instructions.

